There are several ways to create a grid of toys on the wall, whether you “eyeball it” and place them one by one or use a tape measure and chalk line or pencil to grid out nail holes. One of my favorites is to create a simple template, then work your way down (or up, it works both ways). We used this method to create this ad we posted on our Facebook page:

This page will show you how to create your own template to make a nearly-perfect grid of toys on your wall with Toy Shield cases.
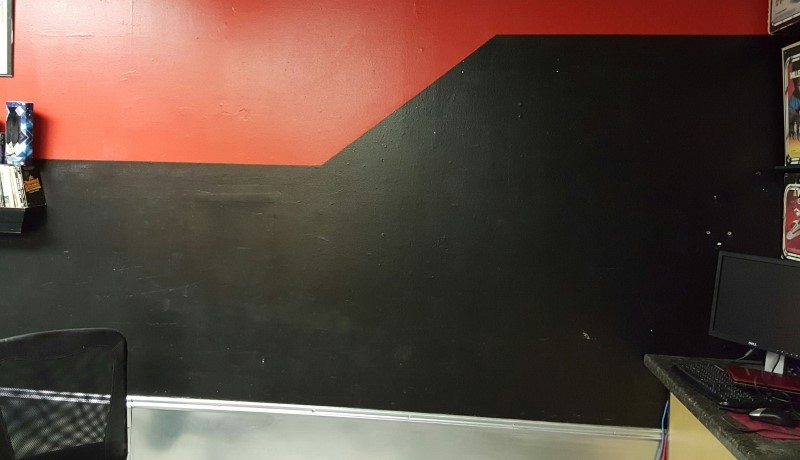
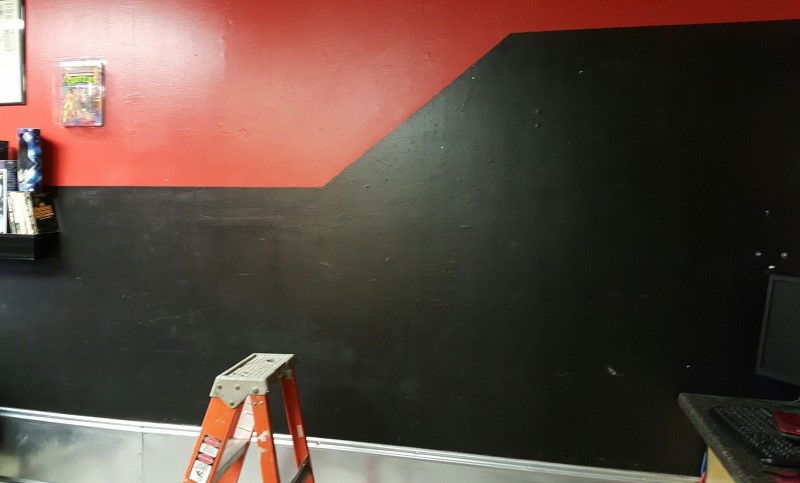
Ok, blank wall, ready to go!
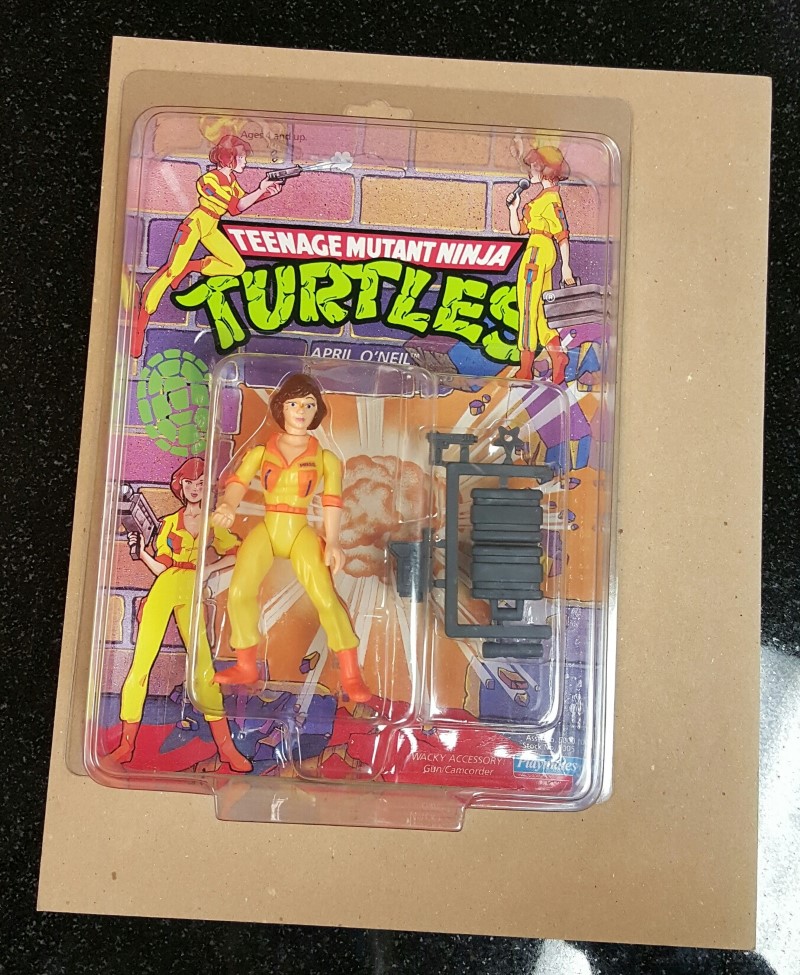
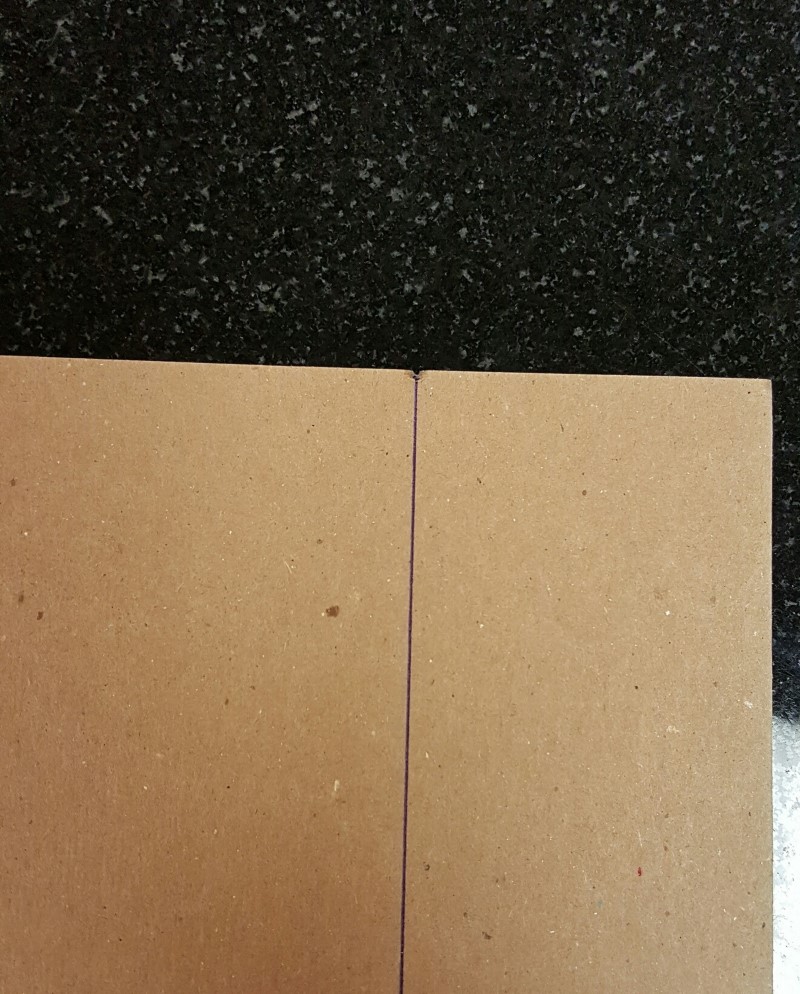
Step 1: Get a piece of cardboard, poster board, or other stiff material with a perfect 90 degree edge. Place the case on the cardboard, leave a small margin on the top and left (this will be the gap between figures on the wall. If you want no gap, leave no margin.)
Step 2: Mark the intersection where the side and bottom of the case intersect.
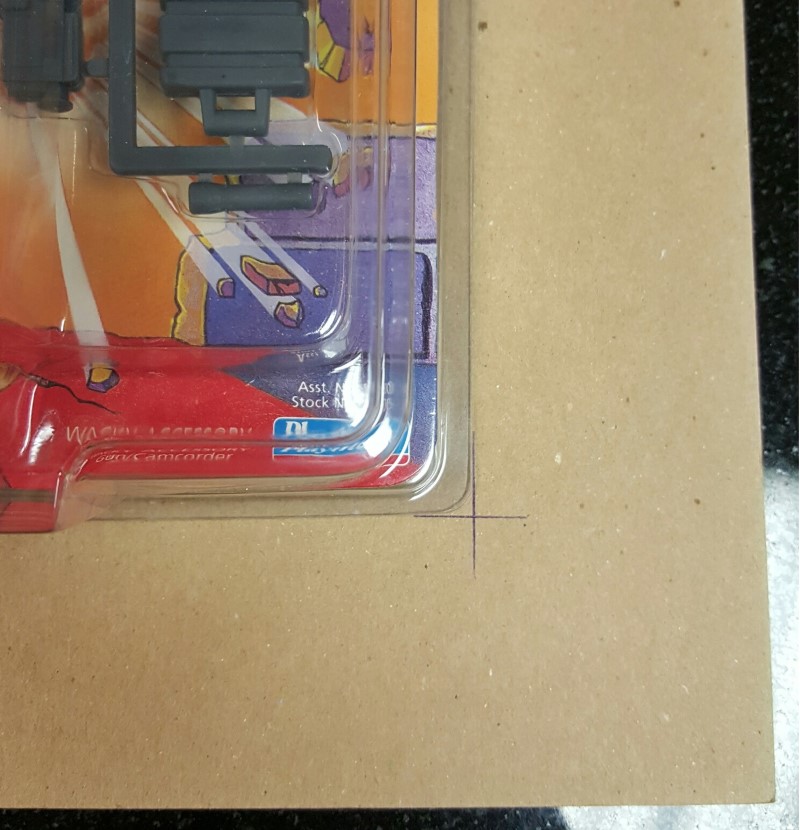
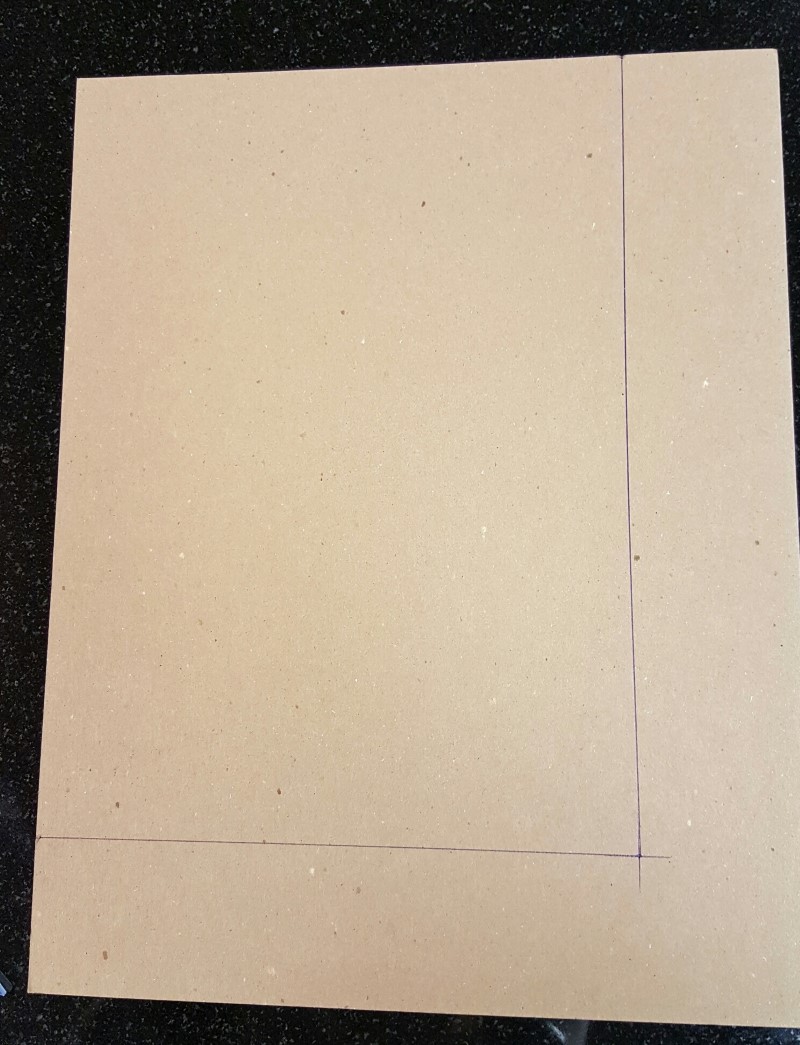
Step 3: Draw lines from the intersection to the top and side of the cardboard. Use a ruler to make sure the lines are straight and keep a 90 degree angle against the sides.
Step 4: Make small dents in the cardboard at the top and side lines, using a tack or other similar item. This groove will help align things later.
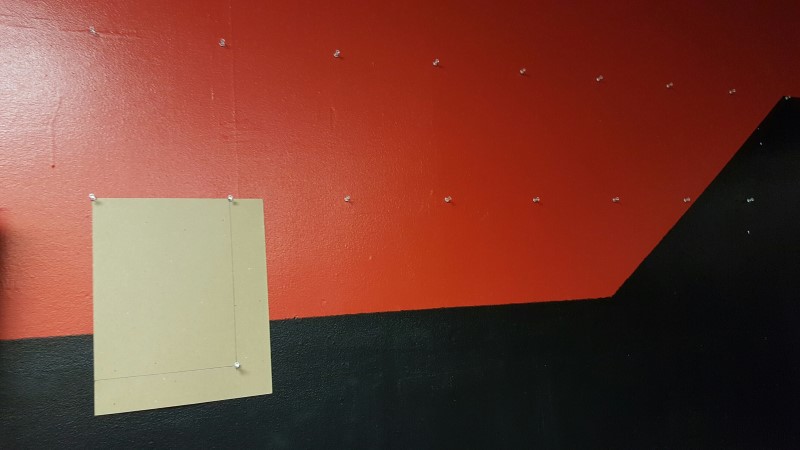
Step 5: Place the first toy on the wall where you want the first row to start. You can measure or estimate based on how many rows and columns you’ll want to create. In this case, I wanted 4 rows, but with a blank space under the 4th row for future expansion. So I measured approx 5 cases high and hung the first case.
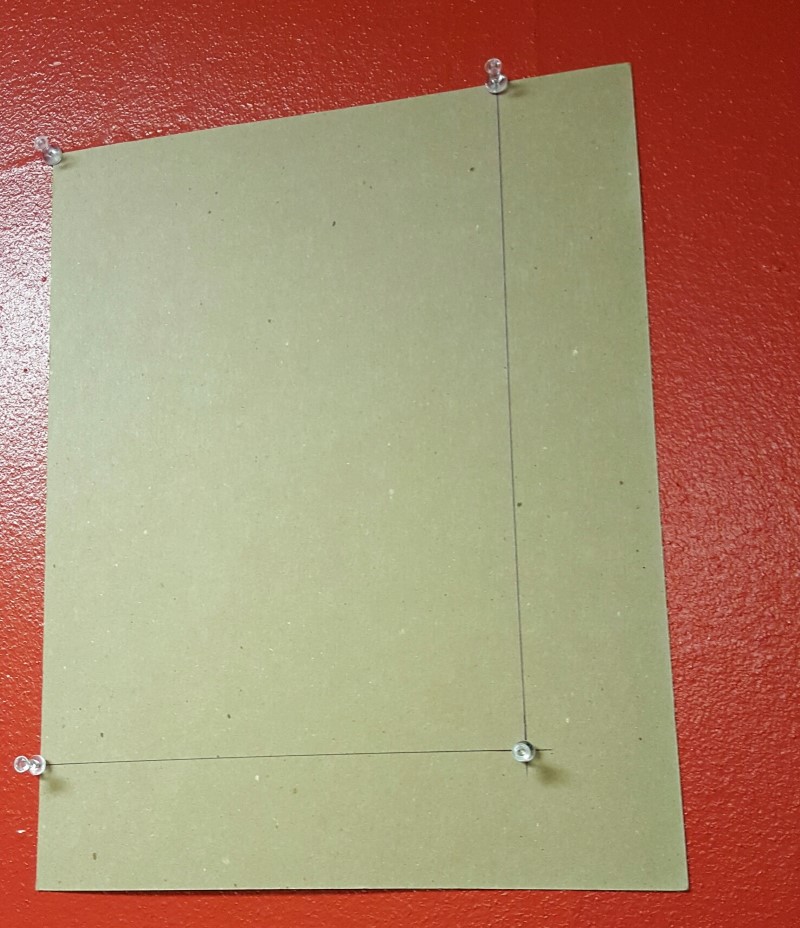
Step 6: Remove the case and leave the tack (in the picture, it’s the top left tack) but don’t push the tacks down all the way so the cardboard can fit underneath. Use a level on this first template step to make sure the cardboard is level, then place the other 3 tacks on the template like shown. Again, remember, don’t push any of the tacks all the way down until the last step. Now all you need to do is remove the bottom right tack and the template can be removed, since the top right and bottom left tacks aren’t pushed into the cardboard itself, simply set into the grooves.
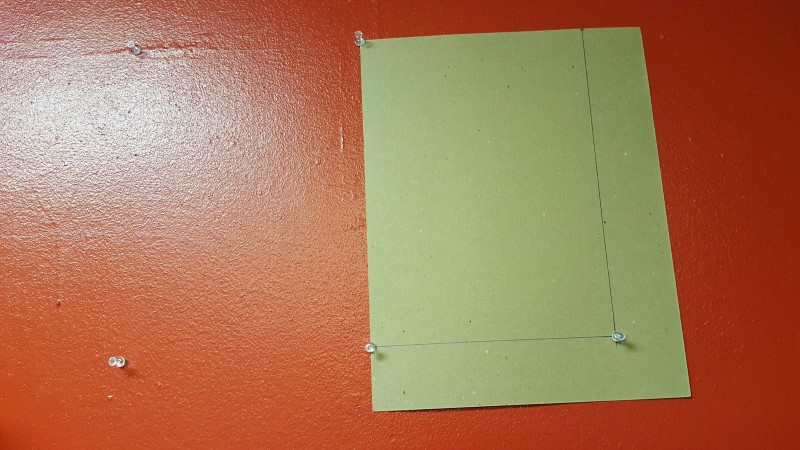
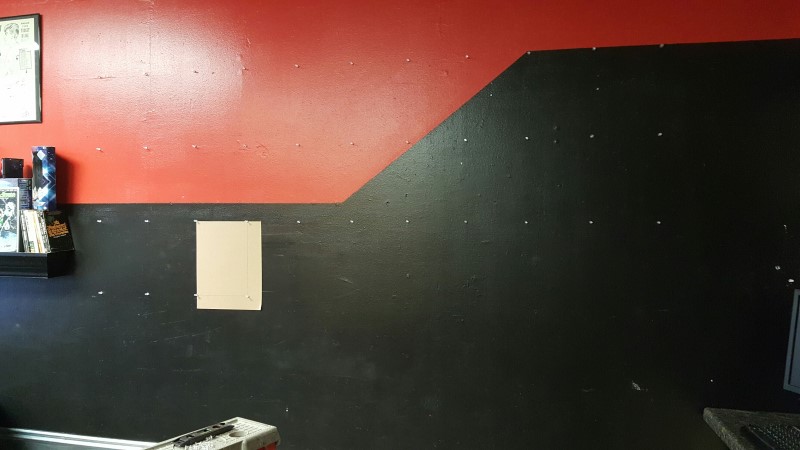
Step 7: After removing the template, place the tack in the hole you set (again, not pushed all the way in). Place the template in the 2 right tacks to see where the other 2 holes need to be placed. Work your way to the right repeating this step until the end of the row.
Step 8: Move to the next row. Use the first 2 bottom tacks to line up the template, then make the other 2 holes using the template. Now work your way to the right again, until that row is complete.
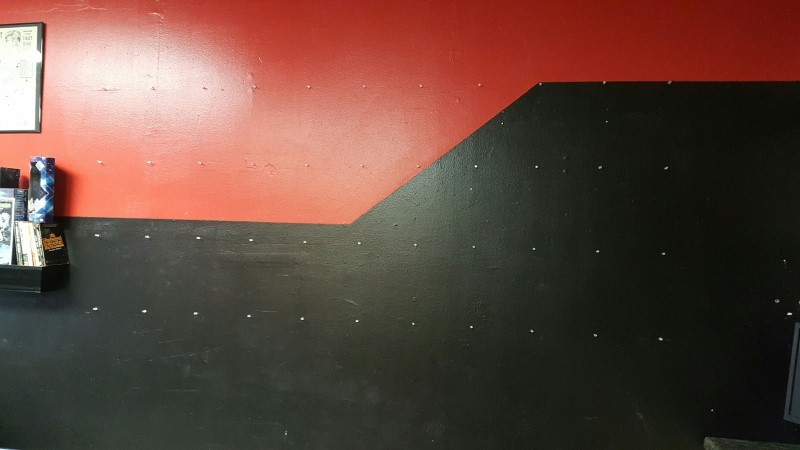
Keep repeating this process…
… until the whole grid is done!
Final step: Push all of the tacks firmly into the wall, and hang your toys!
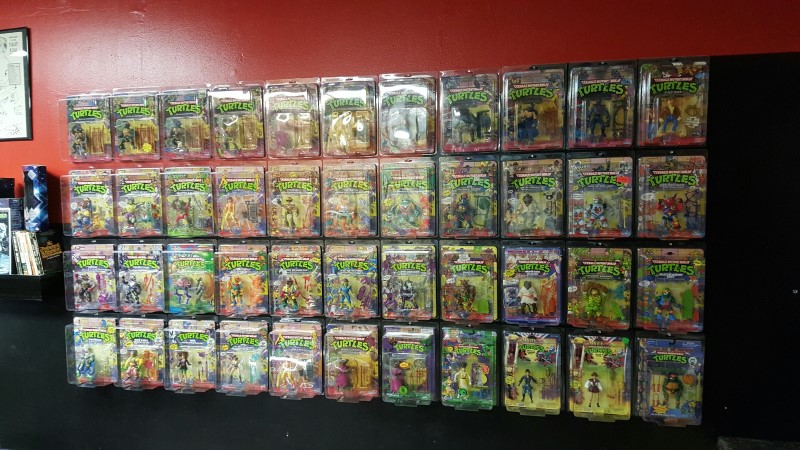
Hope you find these tips useful. We’d love to see how you set up your displays. Feel free to post pics of your collection to our Facebook Page. Enjoy!